|
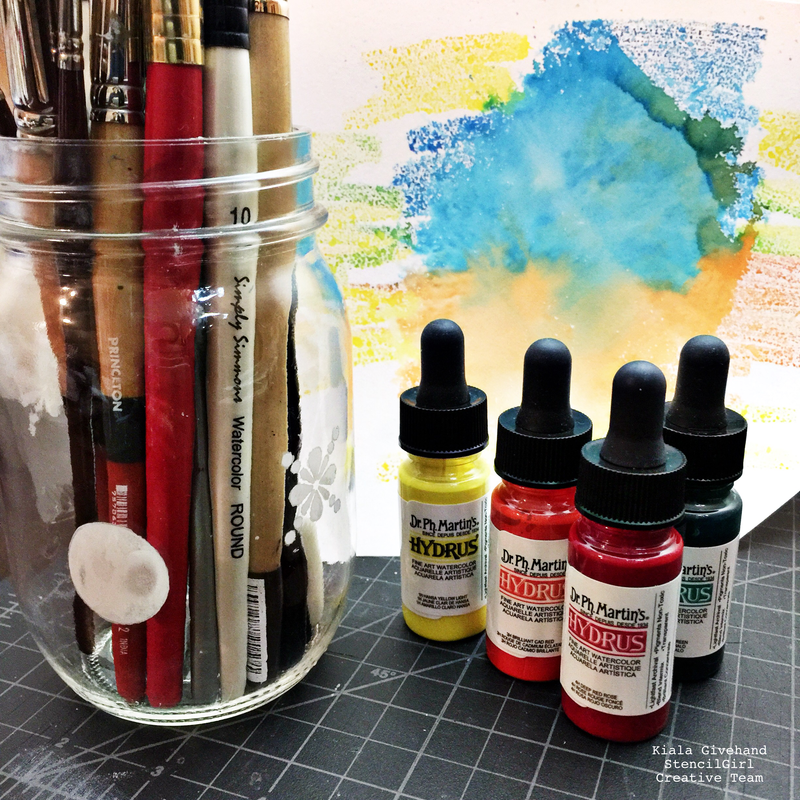
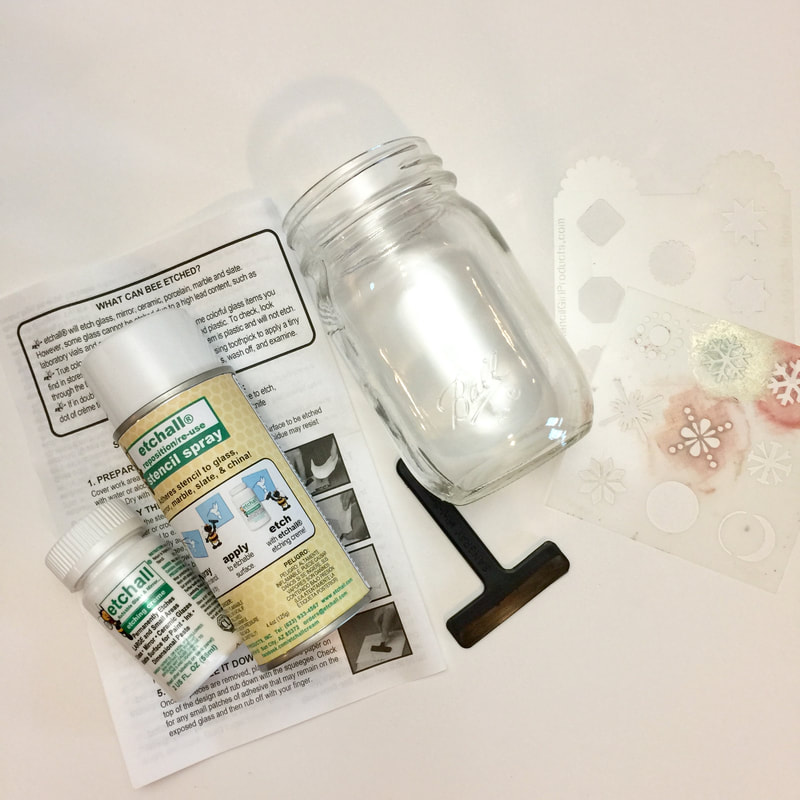
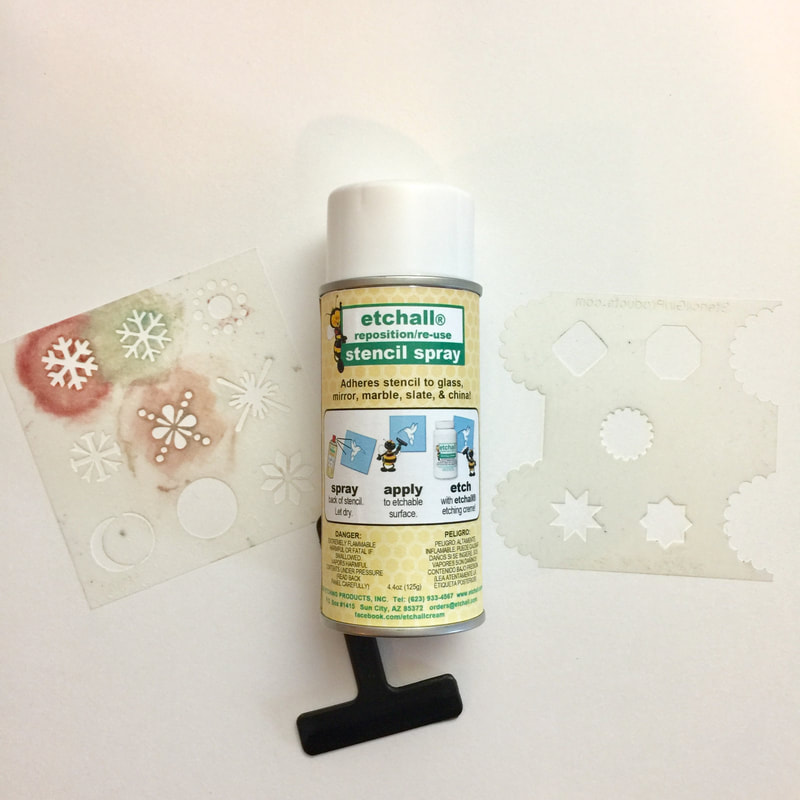
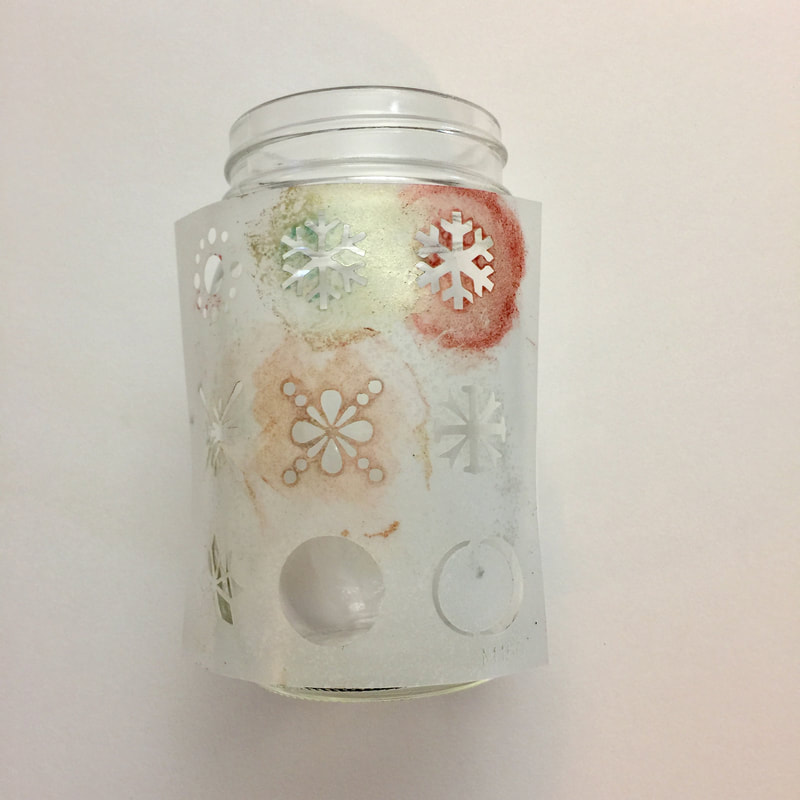
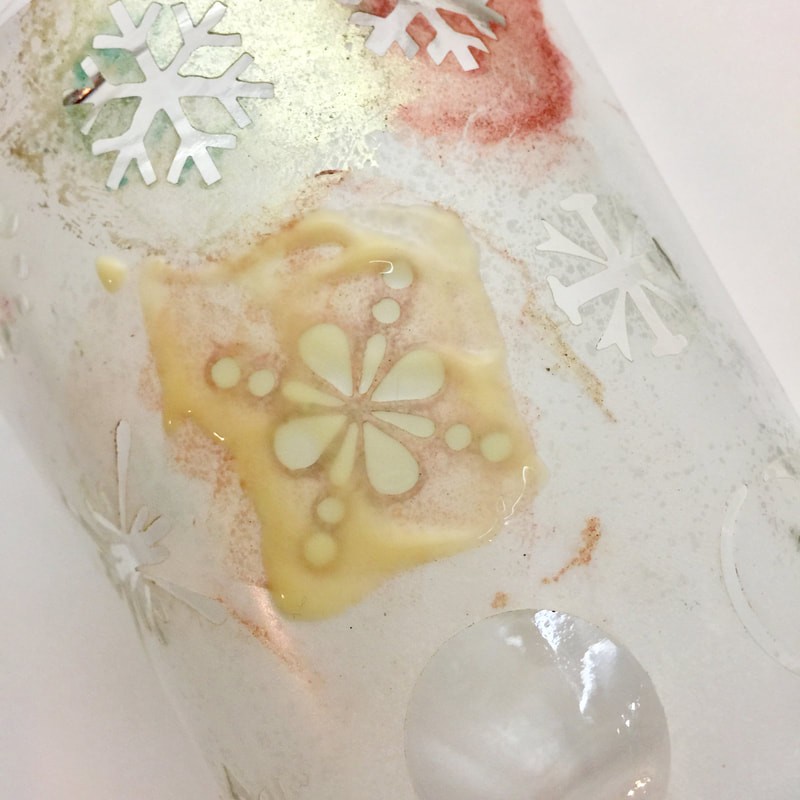
Hey there!! You made it to another stop on the StencilGirl + Etchall Blog Hop. I'm delighted to share my take on a simple project using the Etchall Creme, a Mason jar, and the Planner Winter Symbols #6 Stencil. I have to admit this felt difficult at first because it was super simple. So simple that I thought I was doing it wrong. But I wasn't and I love the result. Keep reading to see what I did and the ONE thing you'll want to know if you try this too. First I gathered all of my supplies and read the directions. This is a crucial step because it really does matter how you follow these instructions. Again, I was making it more complicated that it needed to be. In hindsight, I should have read the directions twice. I would have realized that I could make multiple jars at once really easily and quickly. If you do this project, definitely make one for a friend. Next I cleaned the surface of the Mason jar. Then I used the Etchall Stencil Spray to make the back of my stencils sticky enough to hold onto the glass while the creme did it's work. Once the stencils were sticky I positioned them on the jar and added the creme using the squeegee that comes with the kit. After doing several stencils I realized that I liked the results best when I had a thicker coating of creme. Then I waited the 15 minutes for the etching to happen. Set a timer! Seriously. Set a timer :-). After the required 15 minutes to let the creme sit on the surface, I came in with a moist paper towel and wiped away the creme. I didn't bother trying to save it and put it back in the jar (which I read is possible). Instead, I wiped away the creme and threw the paper towel away. I couldn't quite catch the effect with my camera, so I made this little video of me twirling the jar so you can see the multiple stencils. Now, here's the PRO TIP that you can't ignore -- after you've wiped off the creme, WASH THE SURFACE -- including the newly etched areas. It really does make a difference in how this project looked in the end. The photo at the start of this blog post does not capture the cleaned version of the jar and looks really cloudy. But here in the video you can see how beautifully etched each stencil image appears. That's all I did. Super easy, right? I sure hope you'll give this a try and make your own personalized brush holder. GIVEAWAYOne lucky winner will receive an etchall® Glass Etching Bee-ginner Kit, reposition/reuse stencil spray
AND a $25 Gift Certificate to StencilGirl Products! Here's how you enter to win: >>>Leave a comment below, then be sure to visit the other blogs in the hop and comment to win. The more blogs you comment on, the more chances you have to WIN! One winner will be chosen at random from all blog comments. (One comment per person per blog please.) You have until Tuesday, March 20th at 11:59PM Central Time to leave your comments. Winner will be announced on StencilGirl's Facebook page and etchall’s Facebook page on Wednesday, March 21. Here are the links to all of today's blog posts - make sure to visit and comment on each of them for your chance to win! Belen Sotelo Cindy Gilstrap Kiala Givehand <<<< YOU ARE HERE!!! Janet Joehlin Anita Scroggins Erin Reed Candy Rosenberg Susie Bentz
24 Comments
Donna Goggin
3/14/2018 11:38:10 pm
Cute design on your jar.
Reply
Jean Marmo
3/15/2018 05:38:28 am
This is simply lovely! I have never tried anything like this but I want to!
Reply
Terry O'Neill
3/15/2018 06:14:47 am
I love that this project is so easy and has such beautiful results!
Reply
Susie Bentz
3/15/2018 06:19:09 am
Super easy and very cool! The little video really shows off the designs.
Reply
Edwige V.
3/15/2018 06:56:47 am
Very lovely !
Reply
Patty
3/15/2018 06:57:26 am
Looks like fun!
Reply
Diane Murphy
3/15/2018 07:35:15 am
Great idea! thank you for sharing.
Reply
bailey earith
3/15/2018 07:56:01 am
Imagining the possibilities. bailey (at) BaileyFiberArt (dotcom)
Reply
marian riley
3/15/2018 08:05:24 am
Wow
Reply
Patricia Gonzales
3/15/2018 08:54:33 am
So many great ideas from the blog hop! I have jars holding pens and brushes -- and never thought of etching them! (Of course, from the blog hop I never thought of using the stencils either!) Now to rummage through my stencils and see what I can do!
Reply
Leilani
3/15/2018 08:56:29 am
Thanks for the pro tip! Love this!
Reply
3/15/2018 12:23:43 pm
Really like this, Kiala! And thanks very much for all the tips!
Reply
Kathe Deck
3/15/2018 01:09:23 pm
great tips, thanks!
Reply
Dee Spillane
3/15/2018 01:26:44 pm
Love the effect and the tips. So fun to do.
Reply
Ginnie
3/15/2018 04:20:45 pm
Sweet!
Reply
Catherine Lenoci
3/15/2018 04:55:13 pm
Nice project!
Reply
Carla Hundley
3/15/2018 07:14:09 pm
The etched snowflakes
Reply
steph
3/15/2018 08:20:42 pm
Nice project.
Reply
maria soto
3/16/2018 01:47:10 pm
I should do this to all my glass jars that hold my pens and brushes. great idea
Reply
Mary Holshouser
3/16/2018 05:30:33 pm
Great idea. Our workspace
Reply
3/17/2018 05:04:03 am
This looks very nice. The stencils are very pretty on your jar.
Reply
3/17/2018 03:18:58 pm
Love this idea! So great to personalize as a gift for a friend or of course for keeping for yourself :)
Reply
Your comment will be posted after it is approved.
Leave a Reply. |
hello friend...I'm Kiala, a student of life first and foremost. And I'm also a published poet, book binder, fountain pen collector, Life Alchemist & Intuitive Soul Guide. I make things, paint things, and write things. I love teaching & empowering women to live with intention. Please, grab a cup of your favorite warm drink, a fountain pen, and your favorite journal. Let's connect! My Articles for the StencilGirl® Blog
i'm teaching here...
journal with me
my favorite suppliesmy favorite classesI participate in the Amazon Services LLC Associates Program, an affiliate advertising program designed to provide a means for me to earn fees by linking to Amazon.com and affiliated sites.
Archives
March 2020
|
