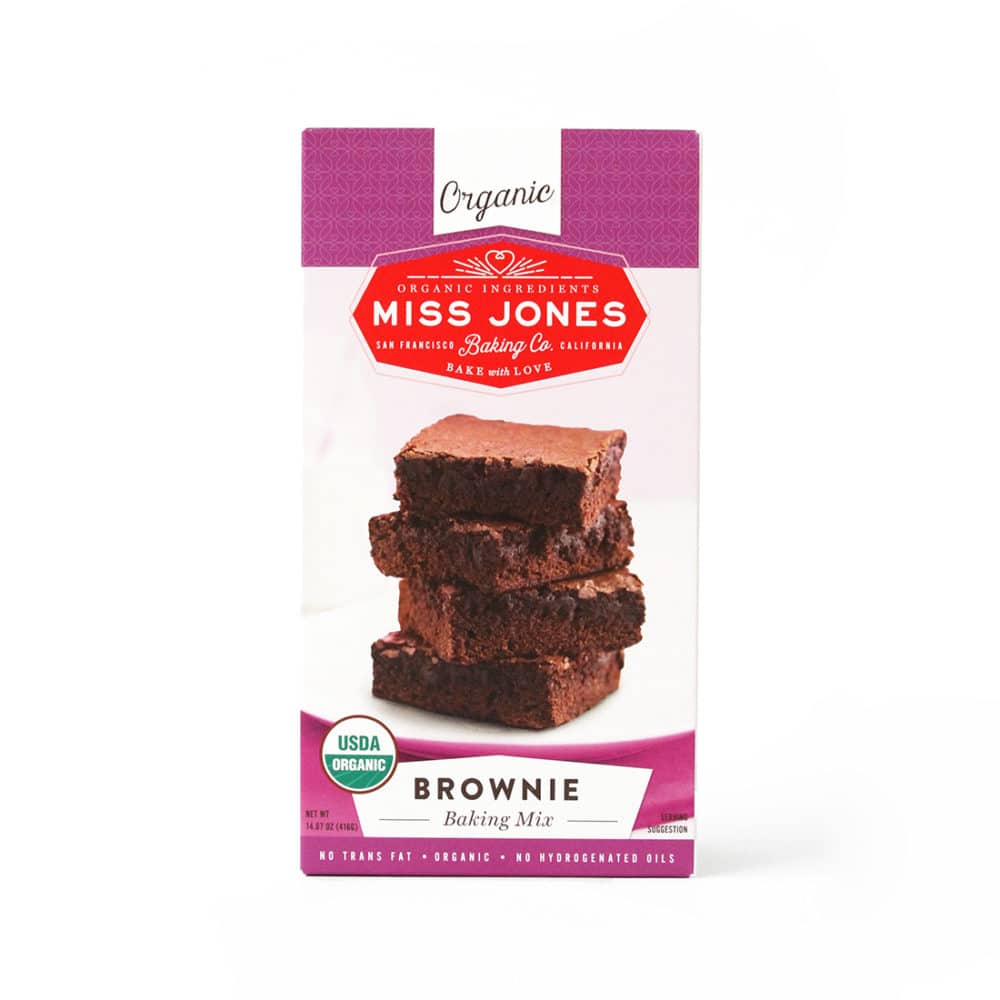
Have you tried using your stencils in the kitchen? YES!!! You read that right -- stencils in the kitchen. This week, the entire creative team was challenged to take the stenciling into the kitchen and here's my take on the task. I've included a short tutorial and a few pro tips to help you get started using your stencils in an unexpected way. Brownies Are Always a WinnerFor this challenge, I decided to make a batch of homemade brownies. I didn't opt for making them from scratch, instead, I used my favorite brownie mix -- Miss Jones Organic Brownie Mix. Trust me, you'll want to buy more than one box of this fudgey goodness because not only are they delicious and nutritious, the frosting can go much further than one pan of brownies.
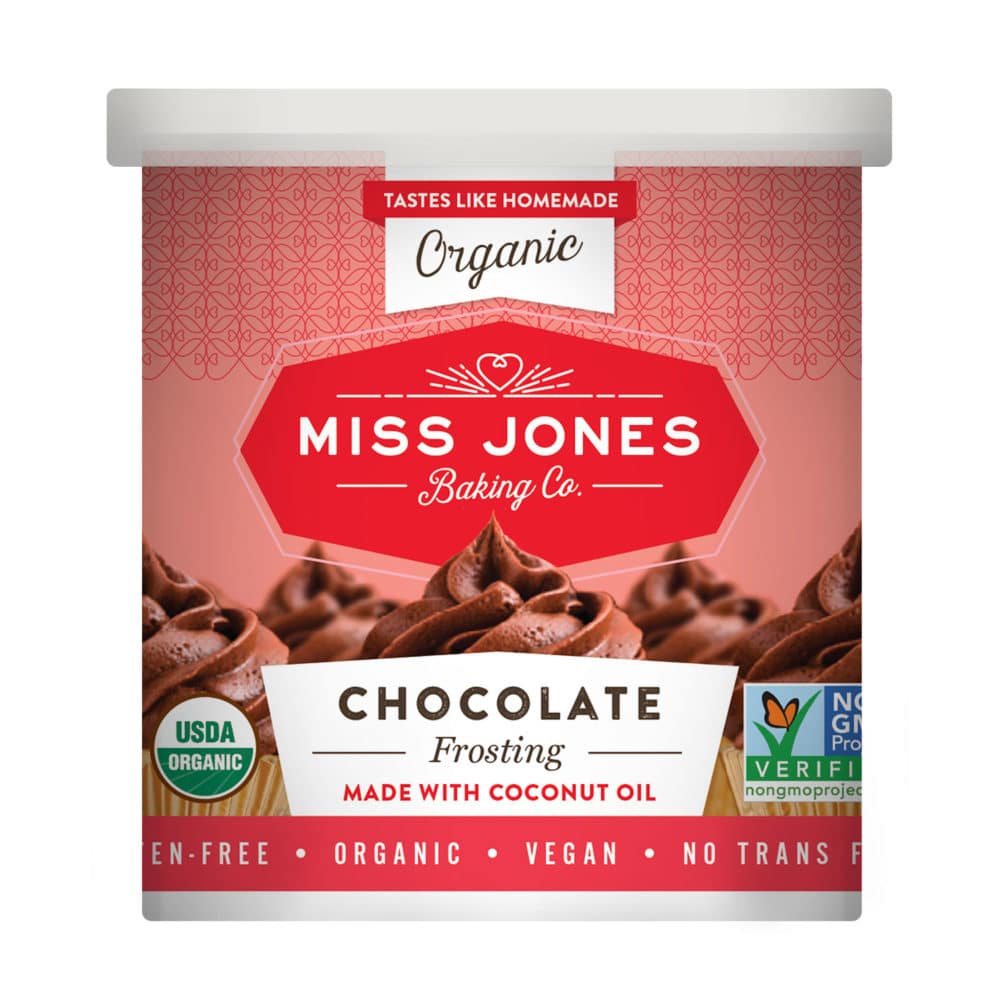
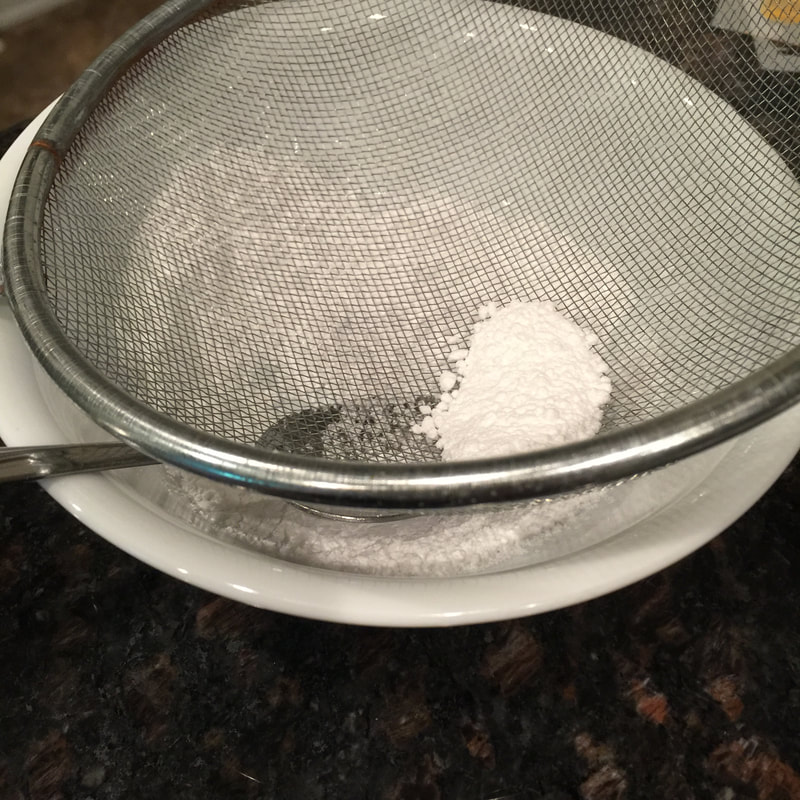
Step 1: Make the BrowniesThe thing I love most about Miss Jones' mixes is that if you follow the directions to the letter, you get amazing results. And it's just too simple to screw it up. I love baking, when I have time, and I prefer to make sweets that are also healthy (no high fructose corn syrup, no chemicals, and no secret ingredients). The fact that these are organic is definitely a bonus and the fact that I got to meet the owner makes these even better. Oh, and did I mention it's a female-owned business? YUP!!! All of those things make it my go-to box baking favorite. PRO TIP: This frosting has coconut oil in it, so let your brownies cool completely before spreading it on, otherwise you'll have have a runny, melty mess. 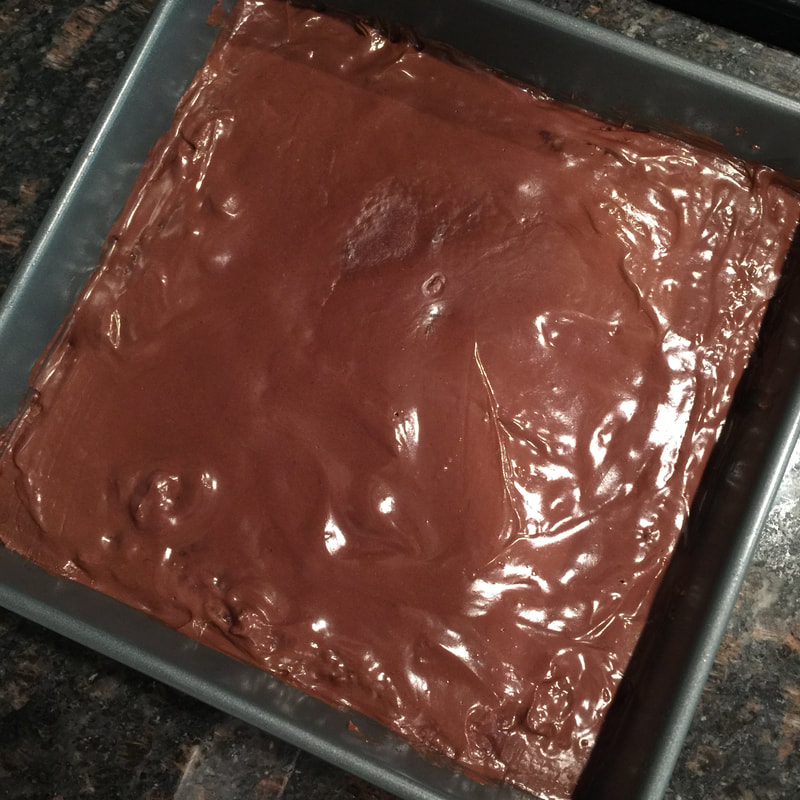 Step 2: Pick Your Stencils and Set Up Your Work AreaWhile the brownies are in the oven, you've got 30ish minutes to pick the stencils you want to use. For this challenge I selected a variety of styles and sizes just so I could see what worked best and the nuances I might encounter. I also set up my work space to make sure I would have the best possible outcome on my first attempt. I didn't have to work hard to convince my husband to help me -- the reward of brownies was all he needed for him to become my personal stencil-holding-partner. I used a paper plate, a bowl, and spoon, and a mesh shifter to make the stenciling process easier. PRO TIP: You'll need two sets of hands for this project, so find someone who can assist you with either holding the stencil in place or sprinkling the powdered sugar.
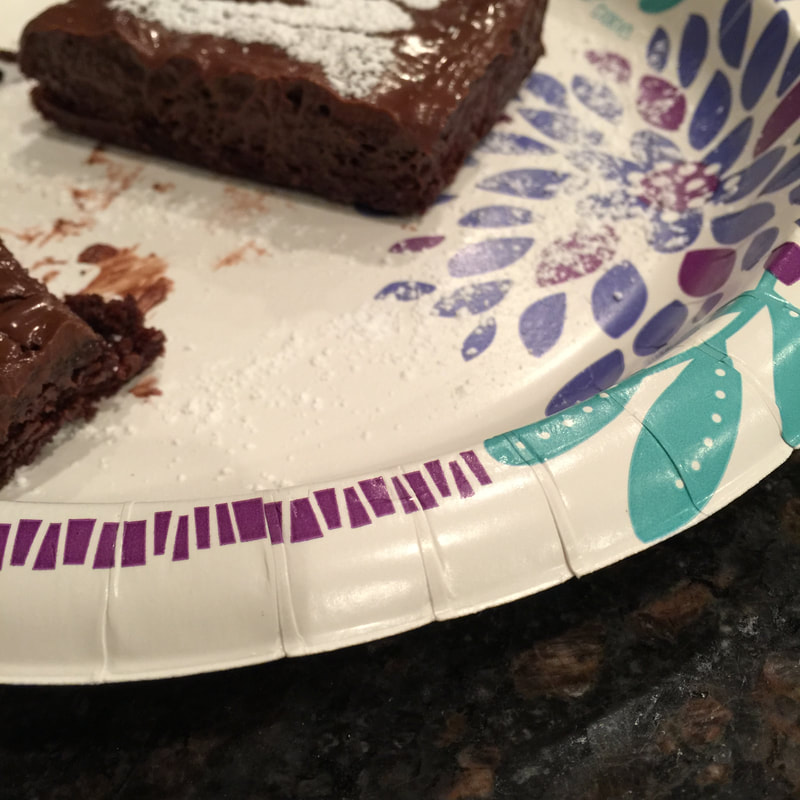
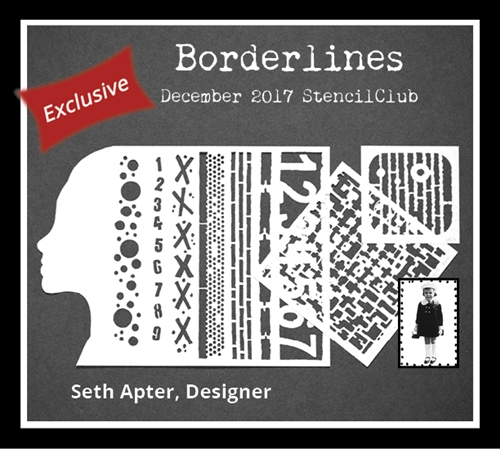
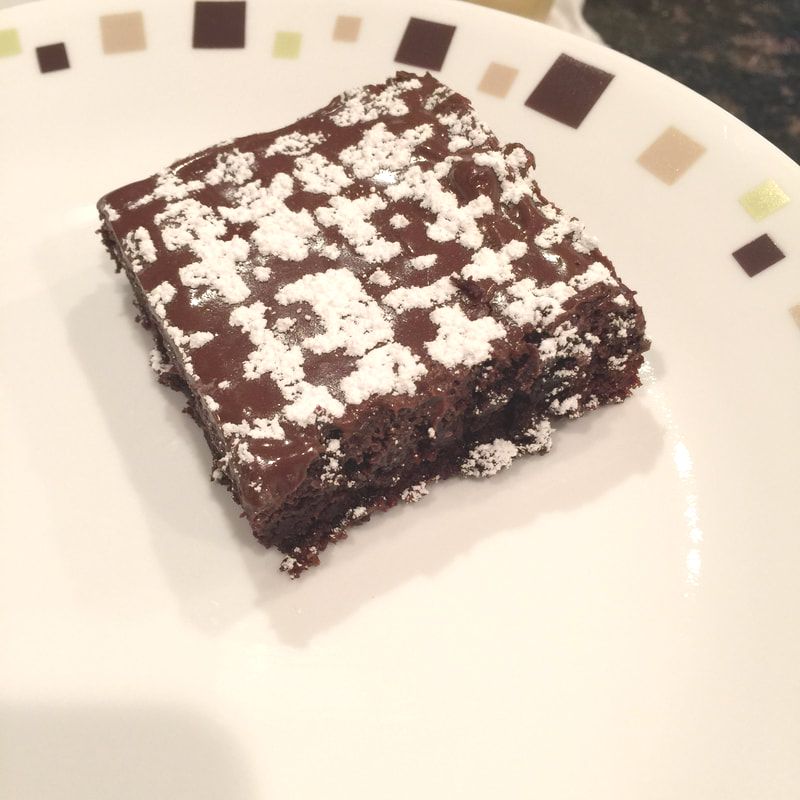
STEP 3: Stencil Your Heart OutPRO TIP: Cut the brownies out of the pan before you attempt to stencil, unless you want to stencil the entire pan with one stencil. I started with a stencil that I would typically use for the background of an art journaling page or mixed media canvas: Borderlines by Seth Apter from the December 2017 Stencil Club set.
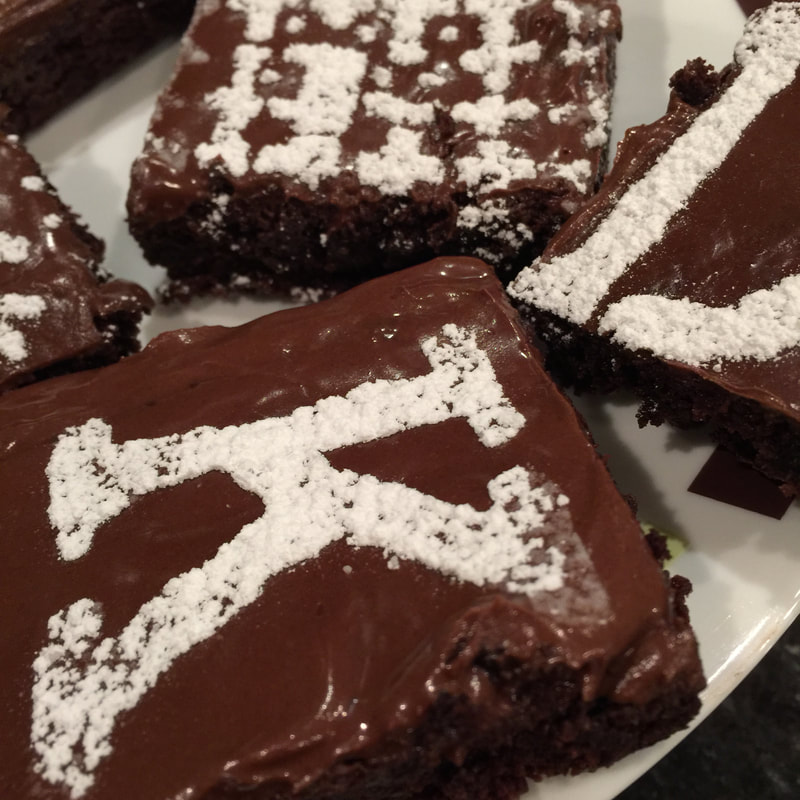
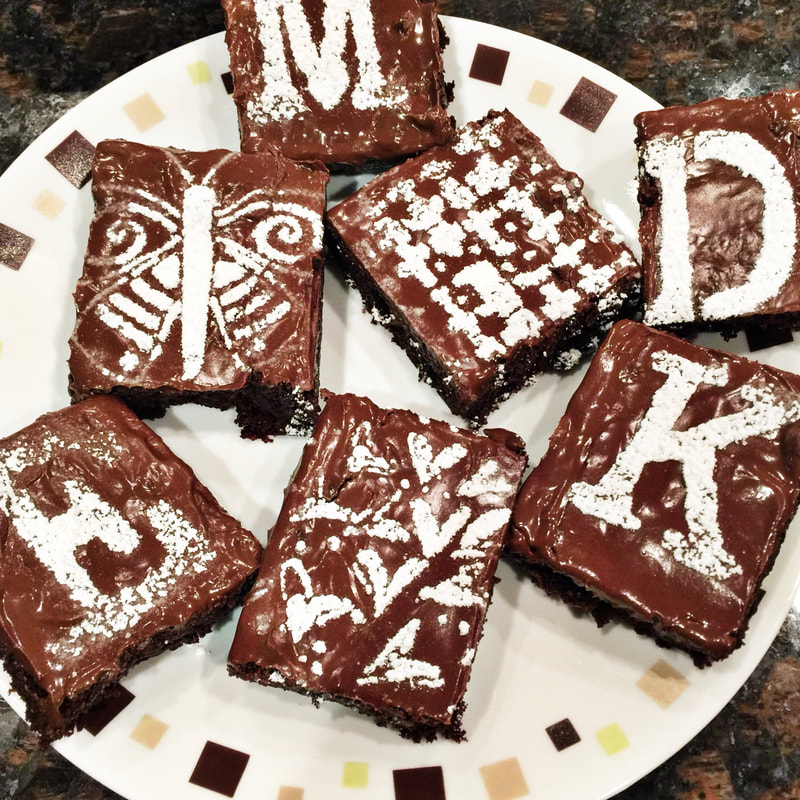
I also thought it would be a good idea to try a stencil that had a design with larger spaces for the powdered sugar to fall. I selected the mid sized stencil from the May 2014 Birds & Bees Stencil Club collection by Terri Stegmiller. I also used the butterfly stencil from that same set and the Grateful Hearts stencil from the November 2013 Stencil Club set by Joanne Sharpe. 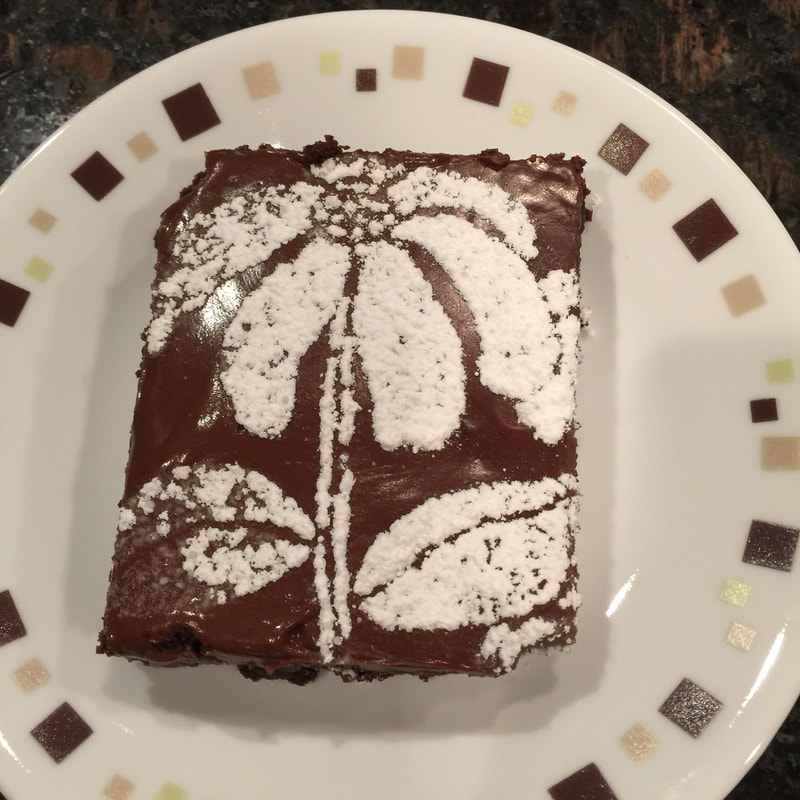 Of course I had to try personalizing the brownies with alphabet stencils. StencilGirl has so many wonderful alpha stencils (and I think I own most of them) that it was hard to pick. I decided on the Jumbo Vintage Stencils by Carolyn Dube and selected the first letter of each person who would get a brownie from this batch.
STEP 4: Enjoy the Fruits of Your LaborThe best part of this project is getting to eat the results. What joy!!! So I'm curious, have you stenciled on food before? Are you eager to try this? If so, I'd love to see what you create. Snap a pic and share it on social media. Be sure to tag me (@kialagives) on Instagram. Be sure to check out all the other cool projects from the Creative Team over on the StencilGirl blog. 
2 Comments
Maggie
4/30/2018 07:37:28 pm
Amazingly cute and simple idea! 7/27/2018 01:38:47 am
he information you shared here is unique and informative which is very rear to see nowadays. Your comment will be posted after it is approved.
Leave a Reply. |

hello friend...I'm Kiala, a student of life first and foremost. And I'm also a published poet, book binder, fountain pen collector, Life Alchemist & Intuitive Soul Guide. I make things, paint things, and write things. I love teaching & empowering women to live with intention. Please, grab a cup of your favorite warm drink, a fountain pen, and your favorite journal. Let's connect!  My Articles for the StencilGirl® Blog

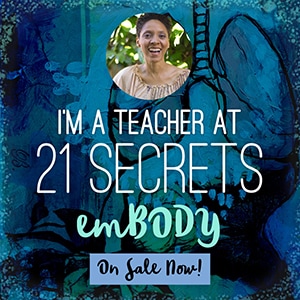
i'm teaching here...


journal with me
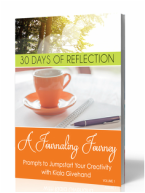
30 Days of Reflection E-Book
my favorite supplies
my favorite classes
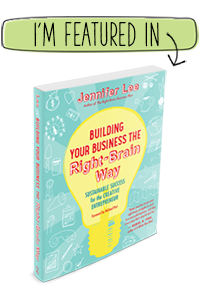
Order Your Copy TODAY!!
I participate in the Amazon Services LLC Associates Program, an affiliate advertising program designed to provide a means for me to earn fees by linking to Amazon.com and affiliated sites.
Archives
March 2020
|